WIGI HAIR
WIGI HAIR
Bring BEAUTY to your life


Wondering how to put in clip hair extensions? Whether you’re a beginner or looking for tips to improve your technique, this step-by-step guide will walk you through the process. Learn how to apply clip-in hair extensions quickly and easily for a flawless, natural look. From sectioning your hair to securing the clips, we've got you covered!

Clip-in hair extensions are a perfect solution for anyone seeking to enhance their natural hair without committing to permanent changes. Here’s why clip-ins are the ideal choice:
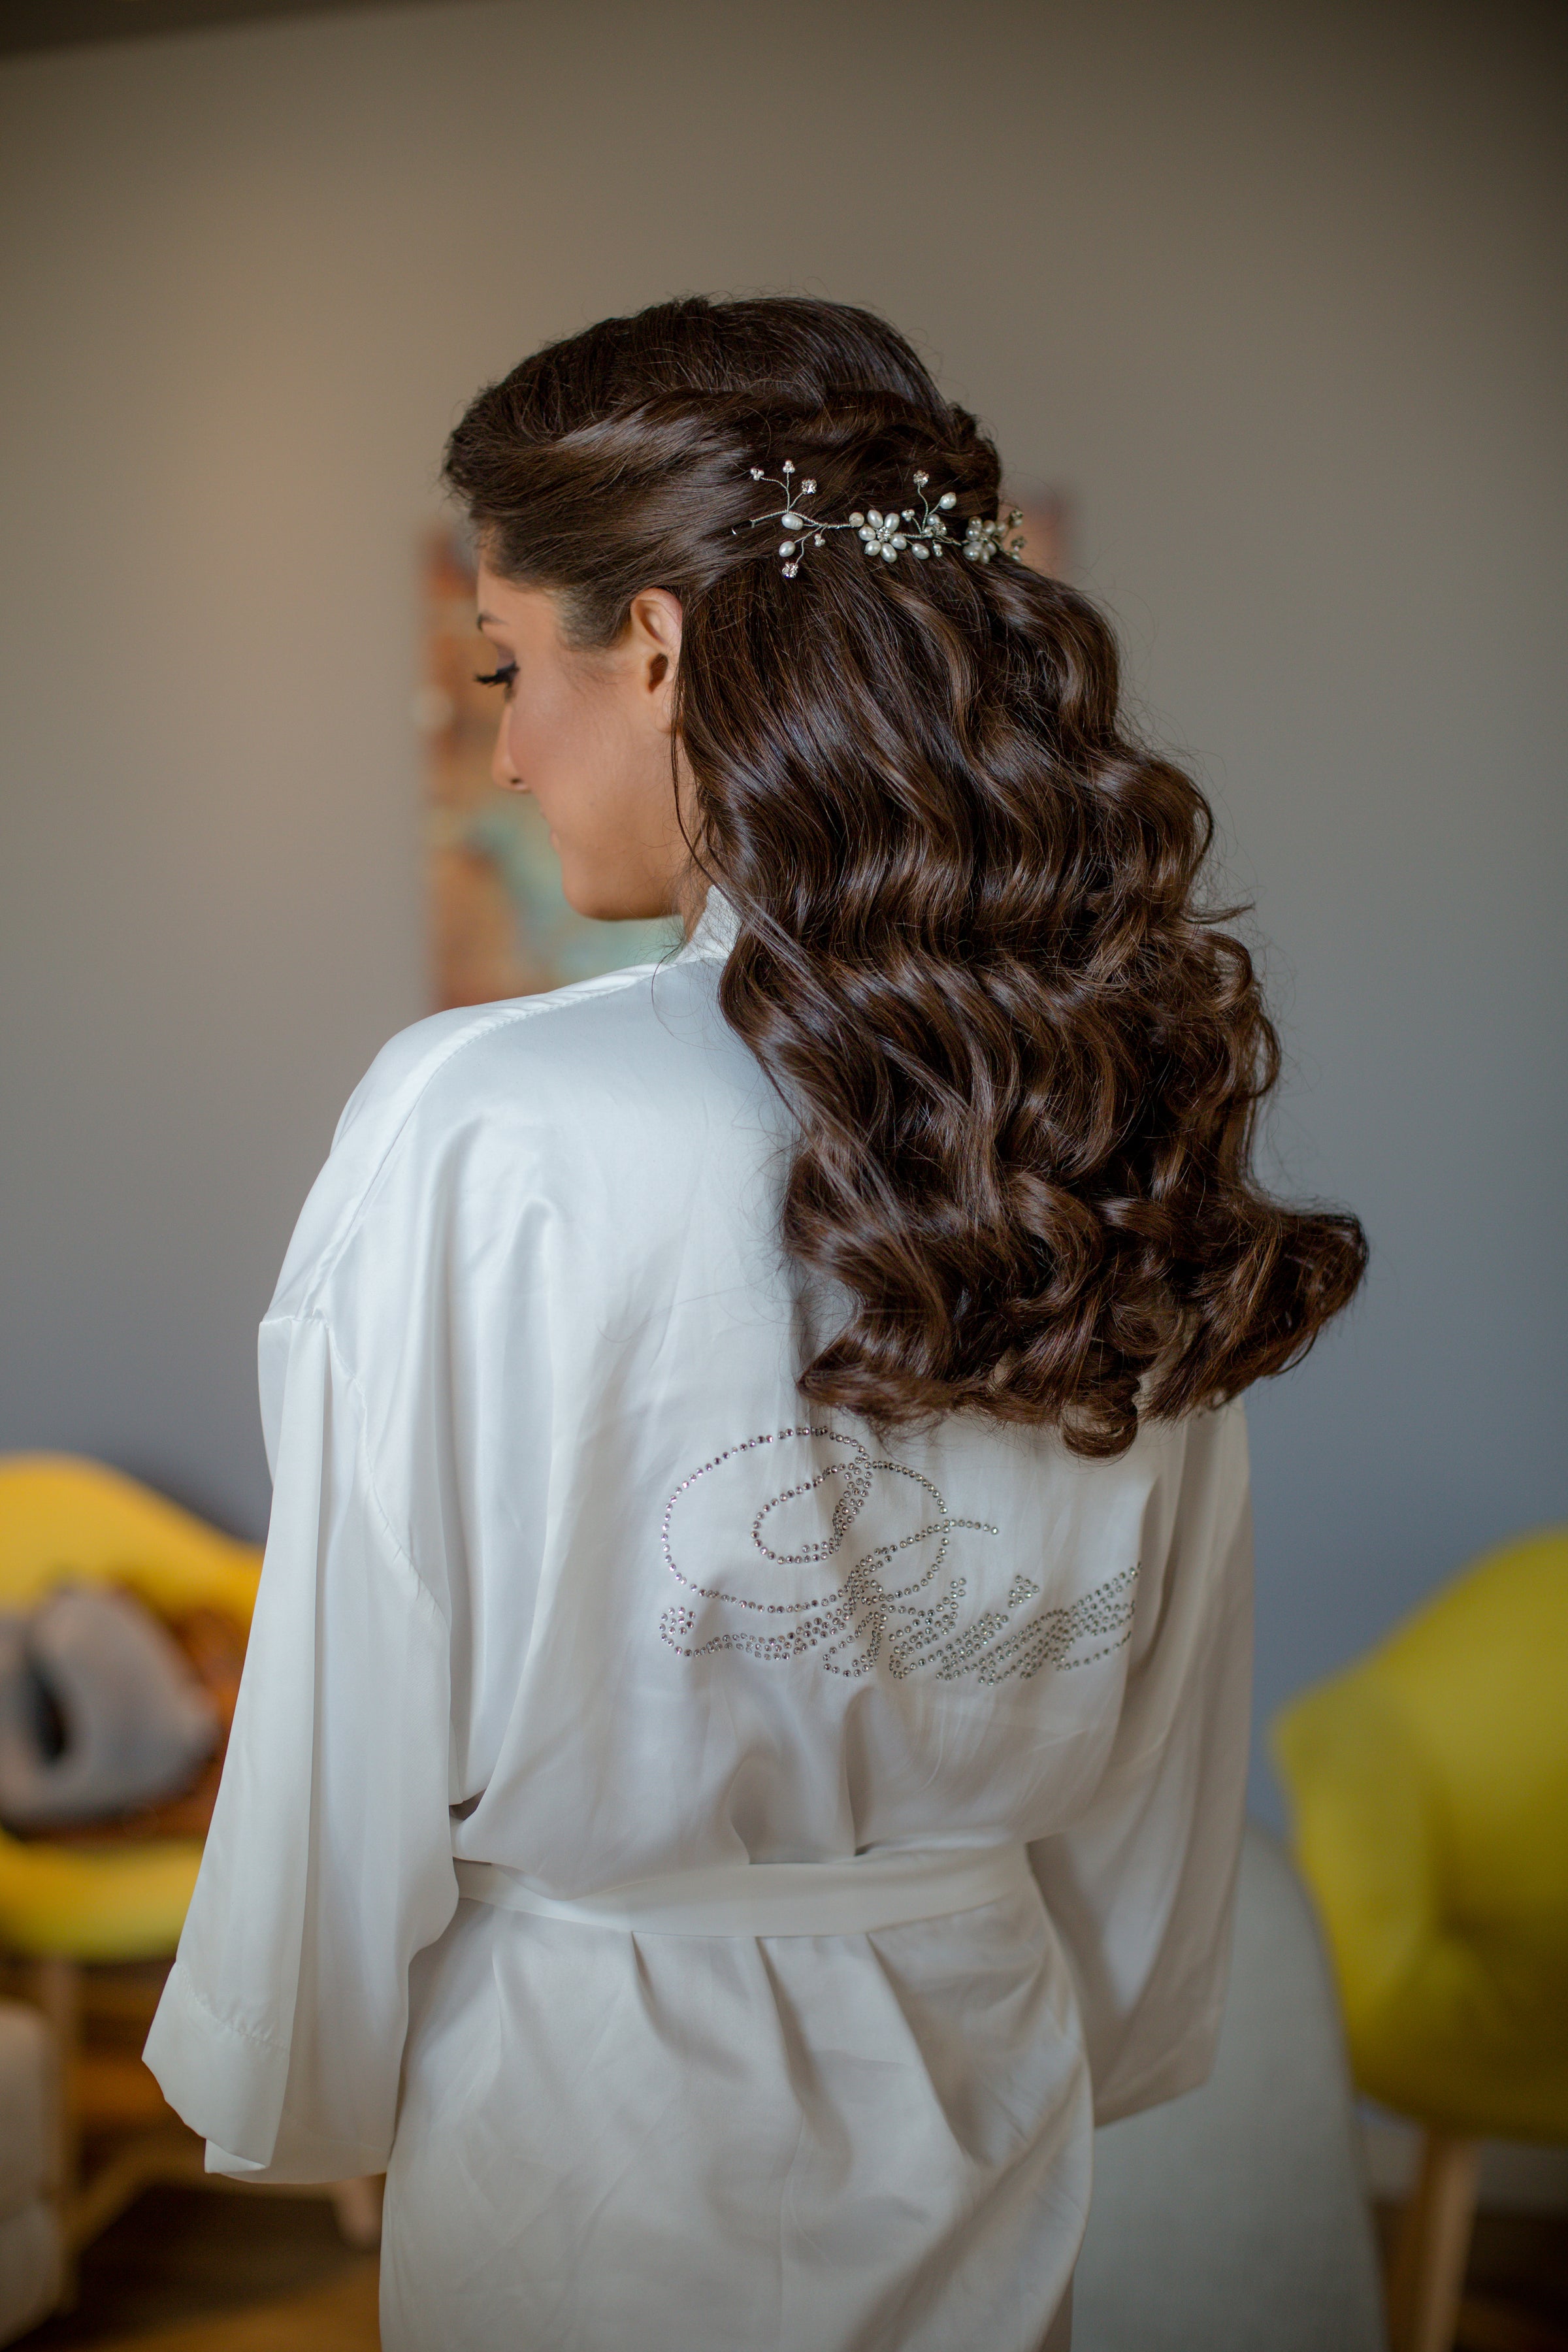
Instant Volume and Length: The most immediate benefit of clip-in hair extensions is the ability to add volume and length in minutes. Whether you want to add fullness to your natural hair or transform your look for an event, clip-ins deliver impressive results without the need for chemicals or a trip to the salon.
Temporary and Reversible: Unlike permanent hair extensions, clip-ins are a non-permanent solution, meaning you can wear them for a day, a week, or longer, depending on your preferences. This flexibility allows you to experiment with different styles without making a permanent commitment.
No Damage: Clip-in extensions are ideal for individuals who are concerned about damaging their hair with other types of extensions, such as tape-ins or sewn-in methods. With clip-ins, you can easily remove them at the end of the day, ensuring your natural hair remains healthy.
Easy to Apply and Remove: Once you get the hang of it, clip-in extensions are incredibly easy to apply and remove. You don't need a professional to put in, and you can do it yourself in the comfort of your own home.
Before you start applying clip-in hair extensions, it's crucial to prepare your natural hair. Here’s how to get your hair ready for the extensions:

Wash and Dry Your Hair: Start with clean, dry hair. Washing your hair removes any oils, product buildup, or dirt, which helps the clips stay in place. Make sure your hair is completely dry before you start applying the extensions, as damp hair can make it difficult for the clips to grip properly.
If you're unsure of how to wash your hair extensions properly, check out our detailed guide on How to Wash Hair Extensions Properly for Long-Lasting, Natural Beauty. This will help you learn step-by-step tips, top products, and common mistakes to keep your extensions smooth, fresh, and long-lasting.
Brush Through Your Hair: Use a wide-tooth comb or detangling brush to remove any knots or tangles from your hair. Smooth, tangle-free hair will provide a solid foundation for the extensions to stay in place.

Style Your Hair (Optional): If you plan to curl, straighten, or style your natural hair before clipping in your extensions, do this first. Styling your hair will help create a seamless blend between your natural hair and the extensions.
Read details: How to Curl Clip-In Hair Extensions: Easy Techniques Gorgeous, Bouncy Curls
Apply a Heat Protectant: If you're using hot tools on your natural hair or your clip-in extensions, it’s important to apply a heat protectant spray to prevent damage.
Proper sectioning is one of the keys to a flawless application. By sectioning your hair, you can ensure that the clip-ins are placed at the right angles and that the extensions blend naturally with your hair. Here’s how to do it:

Create a Bottom Section: Begin by sectioning off the bottom layer of your hair. Use a comb to create a clean horizontal part about 1-2 inches above the nape of your neck. Clip the upper portion of your hair out of the way.
Add the Clip-in Extension: Take your first clip-in extension and open the clips. Starting at the bottom section, position the extension about 1-2 inches from the roots, making sure the clips are facing toward the scalp. Gently press the clips into the roots and snap them shut to secure the extension in place.

Release Another Layer of Hair: After securing the first layer of extensions, release another layer of hair above the first section, and repeat the process. Continue adding clip-ins until you’ve worked your way up to the top layers of your hair.
Ensure Even Distribution: Pay attention to the even distribution of the extensions. Place them at the same distance from your scalp for uniform volume and length. The goal is to blend the extensions seamlessly with your natural hair.
Now that your hair is prepped and sectioned, let’s go through the step-by-step process of applying clip-in hair extensions:

Start by clipping the extensions into the bottom layer of your hair. This is the foundation for the rest of the extensions, so it’s important to get this layer right. Begin at the nape of your neck and work your way upwards, making sure each clip is firmly secured.
For the clip-in extensions to stay in place, they need to be positioned correctly. Hold the extension by the clips and place them as close to the scalp as possible without touching your skin. Open the clips fully before snapping them shut. The clips should hold onto the natural hair without being too tight or uncomfortable.

Once the first layer is secured, repeat the process on the next layers of hair. Continue working your way upwards, adding extensions layer by layer. Don’t forget to blend the extensions with your natural hair by lightly combing through them to ensure they are well-integrated.

Once all the clip-ins are applied, use your fingers or a comb to blend the natural hair with the extensions. This step is crucial for achieving a seamless, natural look. You may need to curl or straighten both your natural hair and the extensions together to help them blend more easily.
After securing the extensions and blending them with your natural hair, you can proceed to style your hair as desired. Whether you prefer sleek, straight hair or bouncy curls, clip-in extensions offer the flexibility to experiment with a variety of looks.

While clip-in extensions are easy to apply, there are a few common mistakes to avoid:
Placing Extensions Too Close to the Roots: If you place the extensions too close to your roots, they may be visible or uncomfortable. Leave about 1-2 inches of natural hair between the extensions and your scalp for a more natural look.
Not Securing the Clips Properly: If the clips aren’t secured tightly enough, the extensions may slip out. Make sure the clips are firmly in place by gently tugging on them after clipping.
Overloading Thin Hair with Too Many Extensions: If you have fine or thin hair, using too many clip-ins can cause your hair to look bulky or unnatural. Stick to a few well-placed clip-ins to avoid weighing down your hair.
Forgetting to Blend: One of the most common mistakes is not blending the natural hair with the extensions. Be sure to brush through both the extensions and your natural hair to create a smooth transition.

Q1: How to Put in Hair Extensions Without Them Falling Out?
The key to ensuring your clip-in extensions stay in place all day is to secure them properly. Make sure the clips are securely fastened to your natural hair and avoid placing them too close to your roots. Additionally, using a bit of hairspray after clipping can help lock them in place.
Q2: How Do I Put My Clip-in Extensions in the Right Place?
The right placement depends on the desired volume and length. Clip-in extensions should be placed 1-2 inches above the roots, starting from the bottom and working your way up. For a more natural look, avoid placing the extensions too high on your scalp, as this can make the clips visible.
Q3: How Long Does It Take to Put in Clip-in Extensions?
On average, it takes about 10-20 minutes to apply clip-in extensions, depending on the number of extensions and your experience. With practice, you can speed up the process.
Q4: Can I Put in Clip-in Extensions on My Own?
Yes! Clip-in extensions are designed to be easy to apply by yourself. With a bit of practice, you’ll be able to apply them quickly and confidently.
Q5: How Do You Keep Clip-in Extensions From Showing?
To prevent clip-in extensions from showing, make sure they are properly secured and positioned. Section your hair well and avoid placing the clips too close to your roots. If needed, you can use a little hairspray to help lock the extensions in place.
Clip-in hair extensions are a simple and effective way to transform your look, whether you're adding volume, length, or experimenting with a new style. By following the steps in this guide, you'll be able to apply your extensions quickly and securely, ensuring a seamless, natural look that lasts all day. With the right technique, clip-in extensions can enhance your hair and give you the confidence to rock any look.

If you're looking for natural, long-lasting results with full styling flexibility, WIGI Hair's 100% human hair extensions offer both tape-in and clip-in options to suit your needs.
Explore WIGI’s premium collection of ready-to-wear human hair extensions today. Whether you prefer a semi-permanent solution or a temporary style boost, WIGI has the perfect option to elevate your look and maintain effortlessly beautiful hair.


Leave a comment