EXTENSIONES DE CABELLO WIGI
EXTENSIONES DE CABELLO WIGI
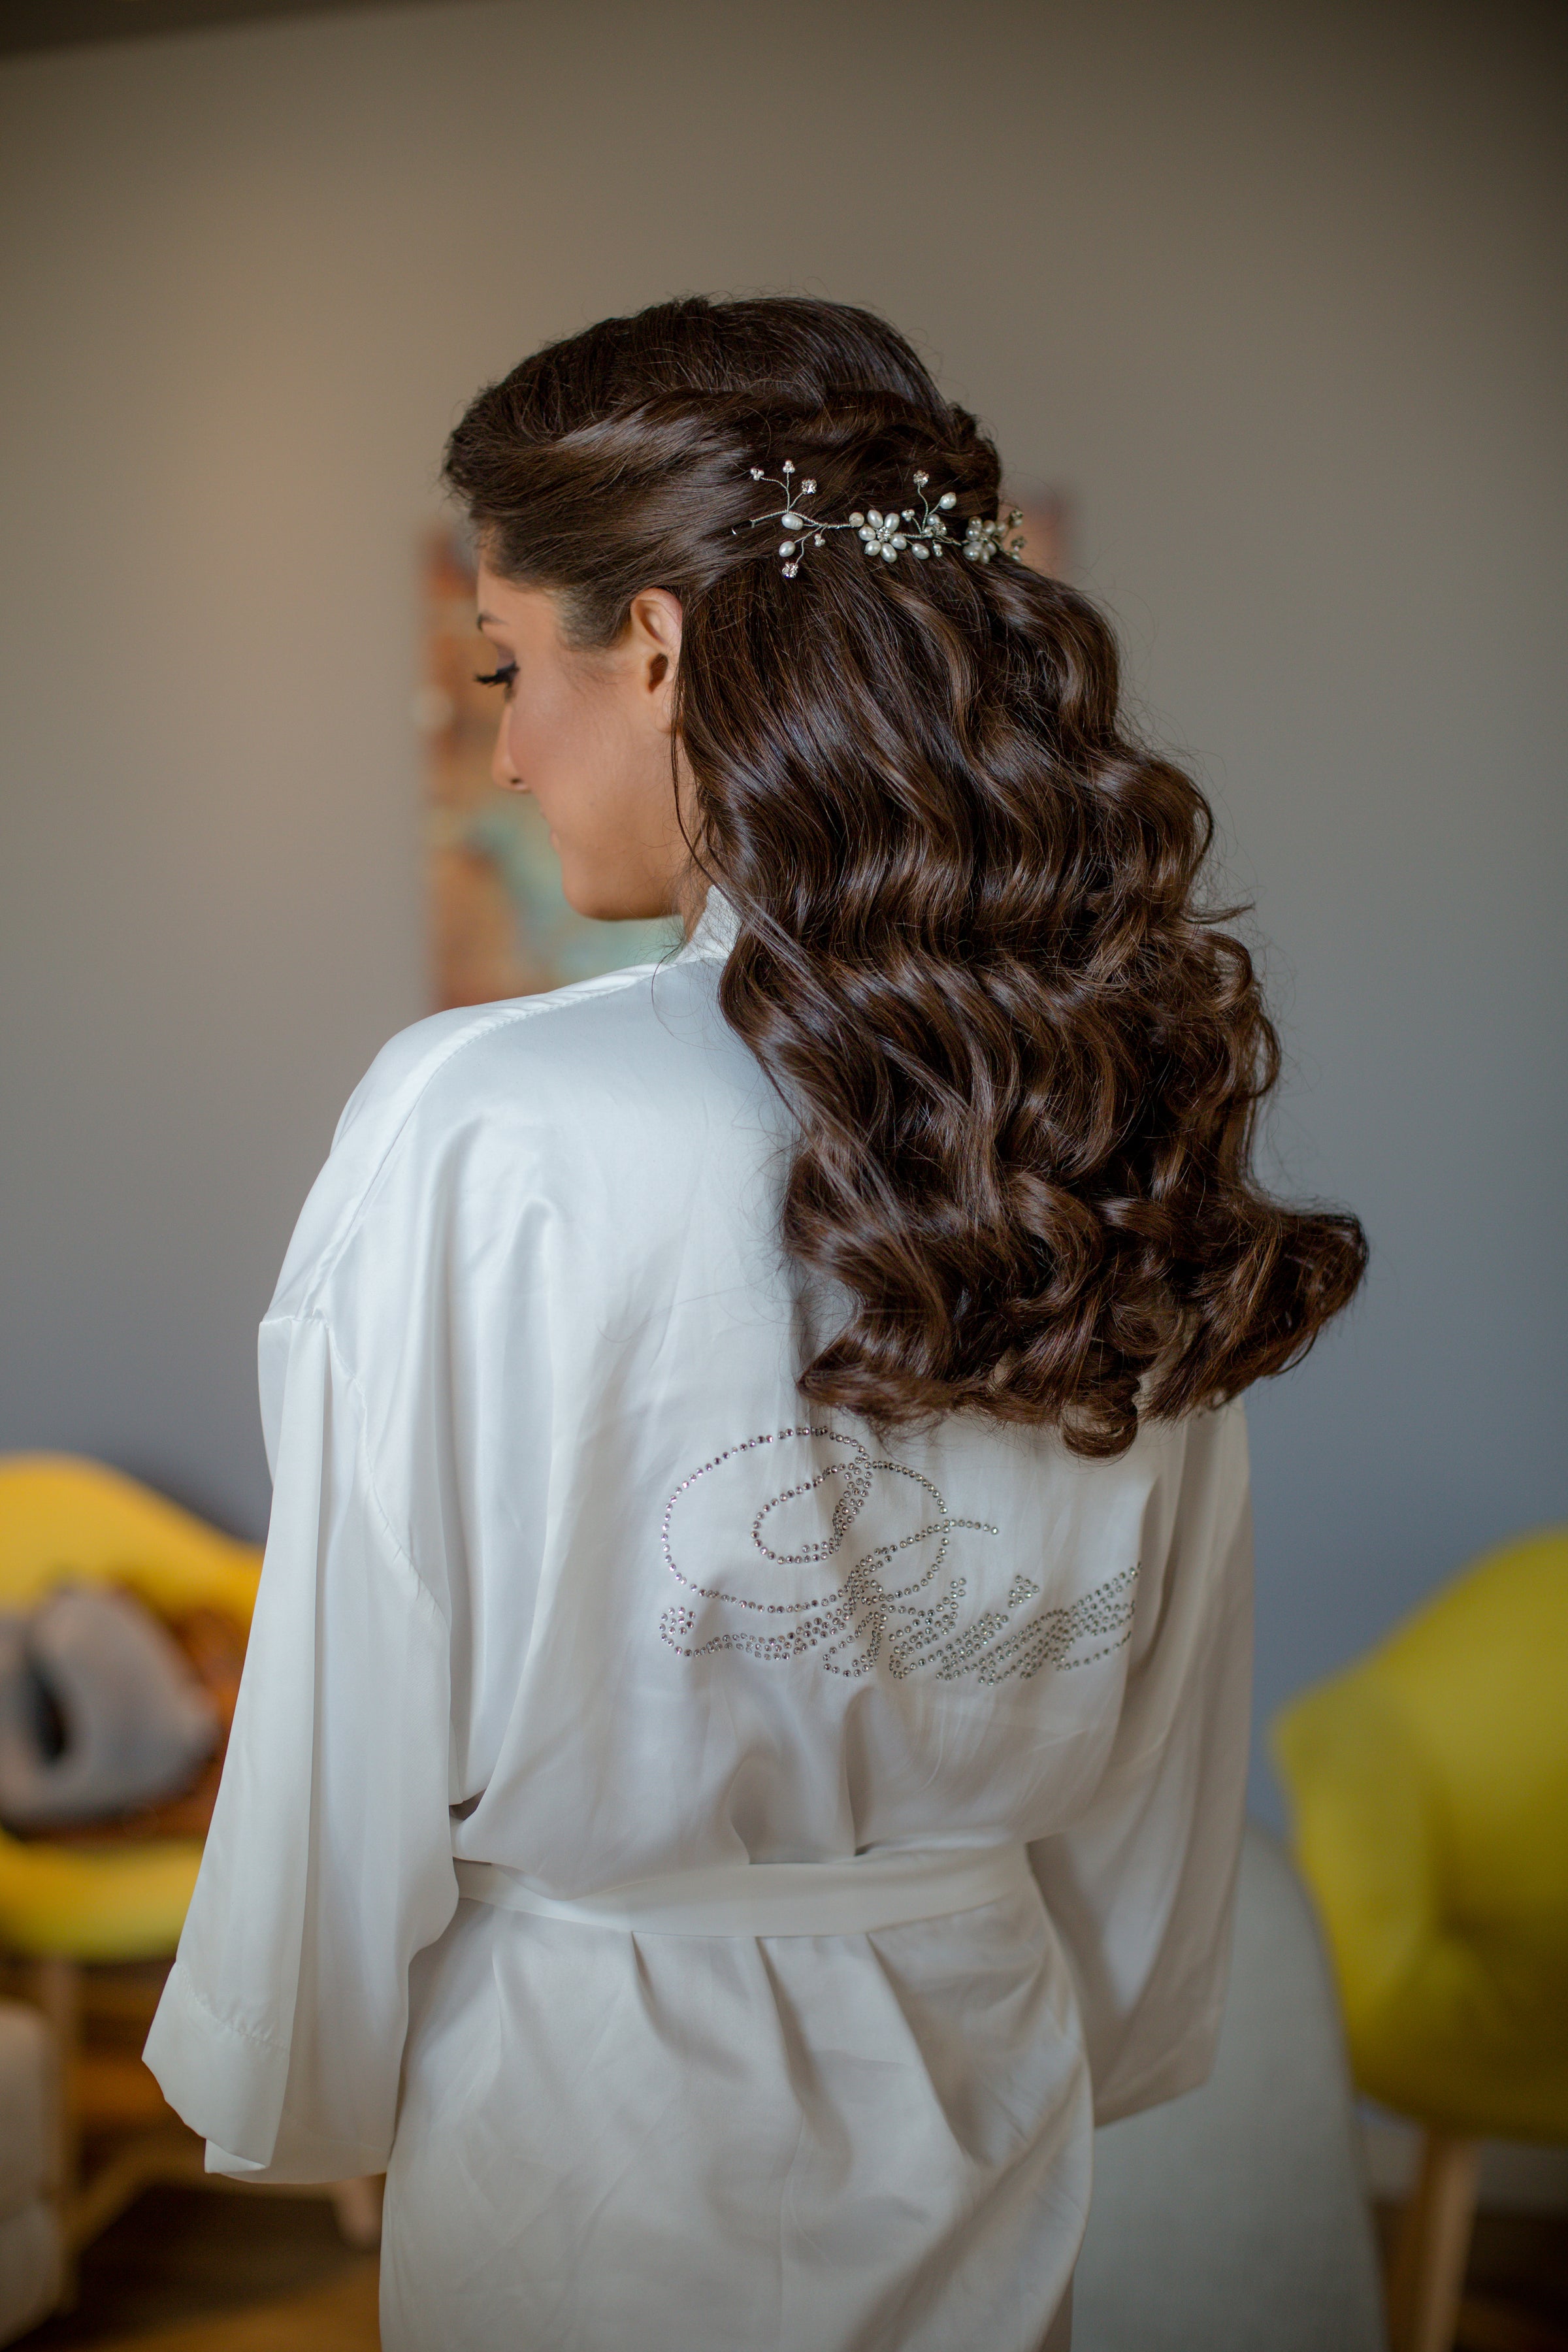
Trae BELLEZA a tu vida


Thinking about giving your wig a fresh new look? The easiest way to do it is by adding bangs. With the right tools and a few simple tricks, you can master how to cut bangs on wig at home — safely and beautifully. In this step-by-step guide, WIGI Hair shows you exactly how to trim, shape, and style your fringe, so your wig looks natural.

If you’ve ever wondered how to add bangs to a wig for a softer look. Cutting bangs on your wig is one of the easiest ways to refresh your look without buying a new style. Whether you’re craving a soft, face-framing change or simply want to make your wig look more natural, adding bangs can instantly elevate your entire appearance.
Frame your face beautifully
Bangs help balance facial proportions and highlight your best features — from your eyes to your cheekbones. The right fringe can soften sharp angles or add dimension to rounder faces, giving a flattering, customized look that feels truly yours.
Make your wig look more natural

A well-cut bang disguises the wig’s hairline or lace front, creating a seamless transition that mimics real hair growth. This small tweak can make a big difference, especially for those who prefer a low-maintenance yet realistic finish.
Style versatility without commitment
Unlike cutting your own hair, trimming bangs on a wig gives you total freedom. You can experiment with curtain bangs, blunt cuts, or wispy layers — and switch styles whenever you like. It’s a creative, reversible way to explore new looks safely.
Budget-friendly transformation
Instead of purchasing another wig, a simple bang cut can make your current one feel brand new. It’s an affordable, DIY-friendly upgrade that brings freshness and personality to your style.

Before you begin cutting bangs on a wig, gather everything so the job is smooth and precise:
Wig stand or mannequin head (preferred) — keeps the wig stable.
T-pins or wig pins — secure the wig to the stand.
Fine-tooth tail comb (rat-tail) — for precise parting and sectioning.
Sharp hair-cutting shears — never use craft scissors.
Thinning shears — to soften blunt edges and remove bulk.
Clips — to hold back non-bang sections.
Spray bottle with water or light leave-in (human hair only) — to control flyaways (use very little).
Mirror (hand mirror if you’ll wear it after) — for checking symmetry and how bangs sit in 3D.
Blow dryer & heat tools (human hair only; use heat-protectant).
Quick safety note: For synthetic wigs, avoid excessive water and never use heat unless the wig is explicitly labeled heat-friendly. Cut synthetic wigs dry so you see how the fibers naturally fall. For human hair wigs, you may slightly dampen the hair to get a truer guide for cutting, but don’t over-soak. Now let’s dive into how to cut bangs on wig at home in a few simple, foolproof steps.
Follow these steps slowly and intentionally. The rule of thumb: cut less than you think; you can always trim more.

Place the wig on a sturdy wig stand or mannequin head. Make sure it’s level — check from the front and both sides.
Use T-pins to anchor the wig at the nape and temples so it doesn’t move while you cut. If you’re working on a cap without pins, wrap a towel under the stand to reduce wobble.
Comb through the hair to remove tangles and set the natural fall. This is your working canvas — the steadier it is, the cleaner the cut.
Pro tip: If you're cutting bangs for the first time, use an inexpensive practice wig to build confidence. For lace front wigs, make sure to avoid cutting into the lace base.

Decide the bang shape: straight-across blunt, curtain bangs, or wispy fringe. Visualize how wide and where the bangs should start (usually from temple to temple or slightly narrower).
Using a rat-tail comb, create a triangular section: the base along the hairline and the point toward the crown. The smaller the triangle, the lighter/narrower the bang will be.
Clip the remaining hair out of the way. Double-check that both left and right sides are symmetrical before you touch the scissors.
Pro tip: For curtain bangs, create a longer, wider triangle and cut the middle shorter than the sides to create that parted, face-framing effect.

When practicing how to cut bangs on wig, remember to trim gradually and check symmetry often. Work in small vertical snips, not one big horizontal cut. Hold the hair between your fingers, slide your fingers down to the length you think you want, and cut slightly above that — you can always shorten later.
Use point-cutting (snipping into the ends vertically) to avoid a blunt, obvious line; this creates softness and movement. For a wispy finish, use thinning shears sparingly through the ends.
For curtain bangs, point-cut the center shorter and angle the sides slightly longer. For blunt bangs, cut a steady line but still soften with vertical snips. Constantly step back and check how the hair falls. Look straight on and slightly from above — bangs read differently from each angle.
For synthetic wigs, always cut dry and in natural light — wet or stretched synthetic fibers can spring back differently. For human hair wigs, a slight mist helps, but avoid soaking.
Comb the bangs down naturally and compare left vs right. Use the center of the nose as a vertical guide to check balance. If one side looks heavier, trim micro amounts from that side using point cuts. Tiny adjustments go a long way. Occasionally put the wig on a head form or your own head (if you’re comfortable) to see how the bangs fall in real life — gravity and movement matter.
Pro tip: Use a hand mirror to view the wig while on your head so you can judge real-life alignment before finalizing.

For human hair wigs: apply a small amount of heat protectant, then blow-dry bangs into shape with a round brush for volume or a paddle brush for smoothness. Finish with light hairspray if needed.
For synthetic wigs: finger-style or use a low-heat tool only if heat-safe. Many synthetic fibers respond better to styling by hand or steam methods specified by the manufacturer.
Use thinning shears to soften any heavy spots and create natural movement. Add a few wispy baby-hair pieces at the hairline with point cuts to make the hairline look less uniform.
Final check: Move your head, smile, and see how bangs sit when you talk — bangs should flatter motion and expression, not remain static.
Extra pro tips:
Always cut less first. You can always take more off, but you can’t add it back.
When aiming for anime or cosplay bangs, consider razor cutting for sharp texture, but practice on scrap fibers first.
If uncertain, stop and consult a professional stylist — a small salon trim can rescue a risky DIY attempt.
Keep your shears razor-sharp; dull blades blunt ends and create frizz on wigs.
Now that you know exactly how to cut bangs on wig at home, you can refresh your look anytime — no salon needed.

Even with the right tools and good intentions, a few simple mistakes can make the difference between salon-level bangs and a style that looks “off.” Here are the most common pitfalls to avoid when cutting bangs on a wig — especially if it’s your first time.
Mistake 1. Cutting Too Much, Too Soon
This is the #1 mistake. Bangs always appear longer on the stand than when worn because of the head’s curvature. Always start ½ inch longer than your target length, then trim down gradually. Once the hair is gone, you can’t get it back.
Mistake 2. Cutting While the Wig Is Wet (for Synthetic Hair)
Synthetic fibers react differently to moisture — they bounce back or change texture once dry. Always cut synthetic wigs dry so you see the real fall and density of the hair. For human hair wigs, you can lightly mist, but avoid cutting while soaking wet.
Mistake 3. Forgetting to Secure the Wig Properly
A moving base leads to uneven, jagged bangs. Use T-pins and a mannequin head to anchor the wig tightly before cutting. If the wig slips even slightly, your center point can shift — and so will your symmetry. When learning how to cut bangs on a synthetic wig, always work dry to maintain fiber texture.
Mistake 4. Using Dull or Household Scissors
Kitchen or fabric scissors crush the fibers instead of slicing cleanly, causing frizz and split ends. Always use professional hair-cutting shears and keep them sharp.
Mistake 5. Ignoring Face Shape and Wig Density
Bangs that look perfect on one wig may not suit another.
Round faces: try curtain or side-swept bangs.
Oval faces: can wear blunt or wispy bangs.
Heart-shaped faces: opt for soft, feathery fringes.
Balance the wig density — thick bangs on dense wigs can look heavy and artificial.
Mistake 6. Not Checking the Bangs While Wearing the Wig
A wig on a mannequin doesn’t always sit the same on your head. Before finalizing, put the wig on and check the bangs in real-time — blink, move, and talk. This ensures the length and flow look natural in motion.
Mistake 7. Cutting Straight Across Without Point-Cutting
Hard, horizontal lines look fake. Always point-cut (snip vertically into the ends) to break up stiffness and add softness. This is what gives professional wigs that effortless, feathered edge.

Once your bangs are cut, styling is the key to making them blend seamlessly with your face and wig texture. These pro techniques will help your fringe move naturally — never stiff, heavy, or fake.
Use a Blow-Dryer and Round Brush (for Human Hair Wigs)
After cutting, lightly blow-dry your bangs forward and slightly under using a small round brush. This creates a soft curve that frames your face beautifully. If you want a curtain bang effect, blow-dry the center section downward and each side outward.
Flat Iron with a Flick
For a sleeker finish, use a flat iron at low heat (below 180°C / 350°F). Start near the roots and glide outward with a small flick at the ends to avoid a “flat board” look. Always use a heat protectant to preserve shine.
Train the Hairline
If your bangs separate or fall awkwardly, use low heat and gentle pressure to train the fibers into the desired shape. Clip them in place while cooling — this helps set the pattern without over-styling.
Texturize the Ends
For ultra-natural movement, take thinning shears or a razor comb and feather the tips slightly. This removes bulk and mimics how real hair thins out at the ends. Avoid over-thinning — just 2–3 snips through each section is enough.
Blend with the Rest of the Wig
After styling, gently blend the bangs with the front layers of your wig using a fine-tooth comb. If your wig has pre-layered sides, you can slightly trim the connecting pieces so the transition looks continuous.
Add Volume (Optional)
For fuller bangs, use a root lift spray or low-heat roller at the base. Hold for a few seconds and let cool — it gives your fringe a subtle bounce without looking “helmet-like.”
With these styling secrets, your bangs will frame your face naturally, complement your features, and move just like real hair — whether you’re wearing a sleek bob, a wavy lob, or a curly lace front wig.
Cutting bangs on your wig at home doesn’t have to be intimidating — it’s all about patience, precision, and the right technique. With a steady hand and the proper tools, you can create soft, natural-looking bangs that perfectly frame your face and refresh your entire look without visiting a salon. Whether you’re trimming a lace front, styling a bob with fringe, or adding wispy layers for a softer finish, the key is to take your time and trust the process. If you found this guide helpful, follow WIGI Hair for more step-by-step wig tutorials and discover how to achieve your dream transformation with ease and confidence.


Dejar un comentario