EXTENSIONES DE CABELLO WIGI
EXTENSIONES DE CABELLO WIGI
Trae BELLEZA a tu vida


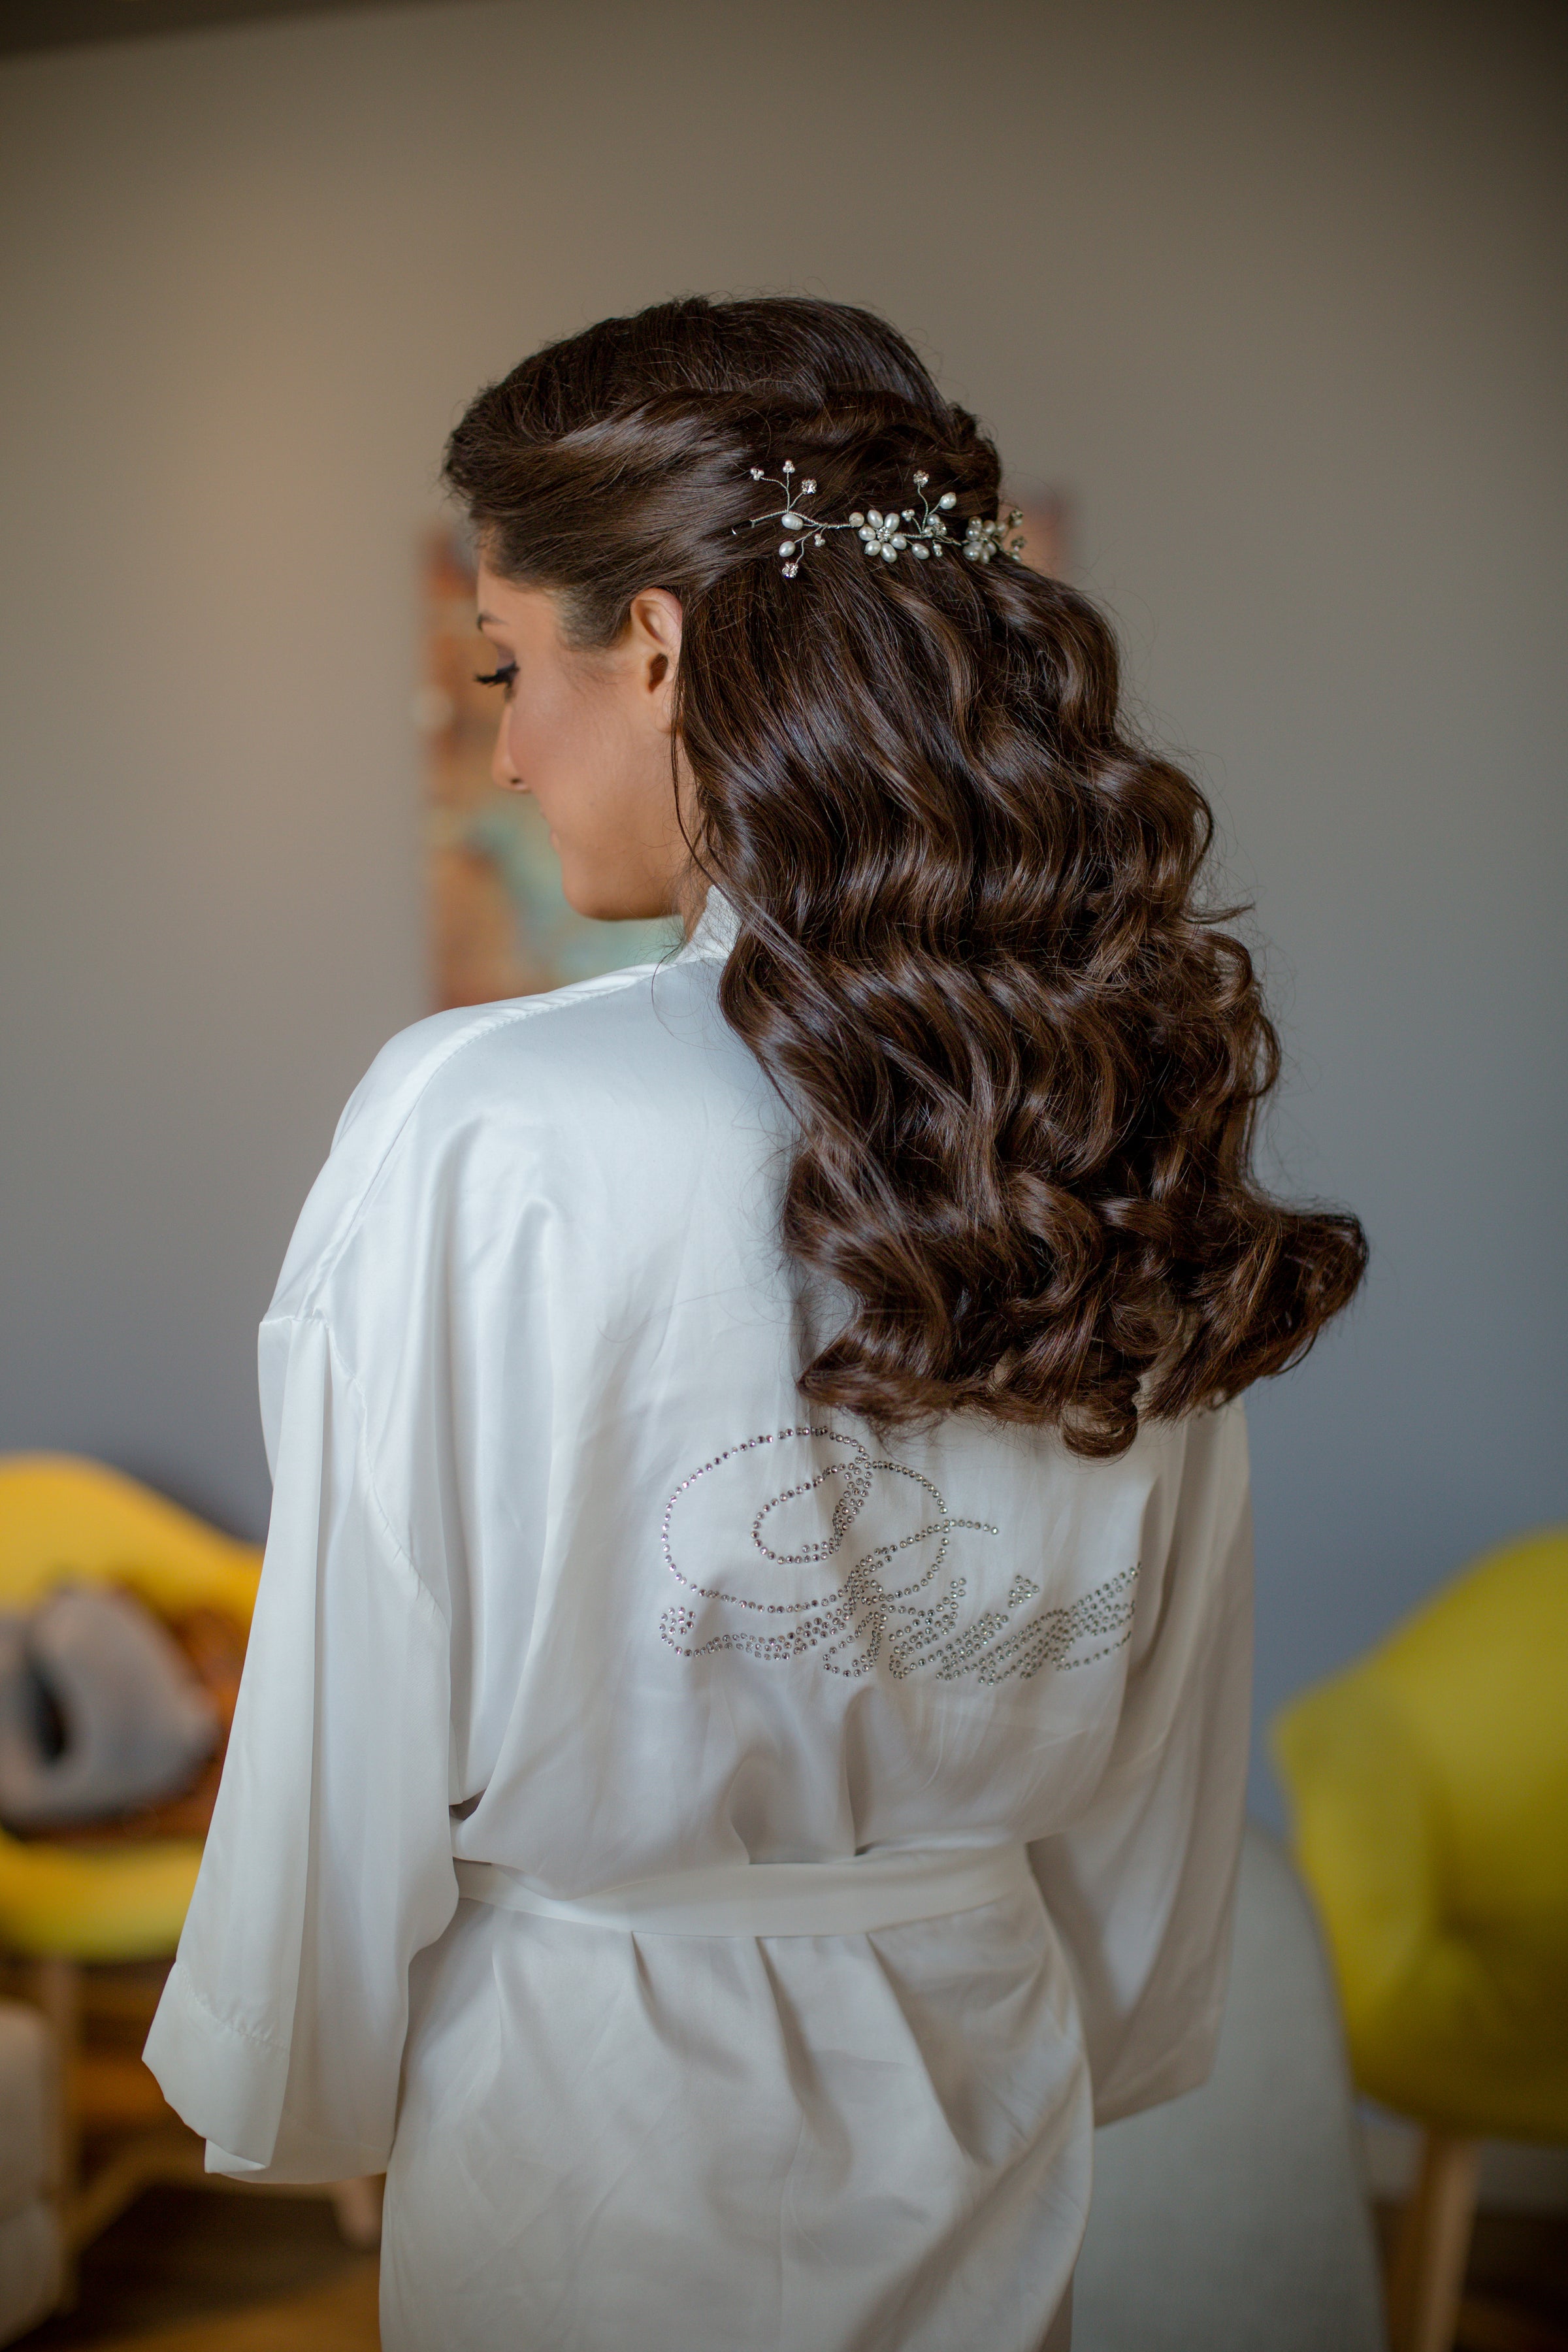

The difference between a high-end hair transformation and a noticeable weave does not always lie in the price tag of the bundle. More often, it is a matter of technical execution and maintenance. Even premium human hair can look synthetic if it is poorly cut, incorrectly blended, or lacking the proper moisture balance.
To help you master this at home, WIGI Hair has gathered 5 practical techniques to elevate your current extensions and achieve that seamless, sophisticated finish.
Achieving a seamless flow from your roots to the tips is the foundation of making any hair extension look expensive. If the transition between your natural length and the added hair isn't smooth, the entire look falls apart.

The most common giveaway of low-quality or poorly installed hair extensions is the "double-layer" effect. This happens when your natural hair cuts off abruptly in a sharp, blunt line, and the longer extensions hang down beneath it.
Human hair naturally tapers toward the ends due to normal weathering and growth cycles. When extensions are packed with uniform thickness right to the edge and installed against a blunt natural haircut, the eye immediately spots the disconnect, making the entire look appear unnatural and cheap.
To fix this disconnect and get that high-end flow, you must mimic the natural taper of human hair using a few simple cutting adjustments. You do not need professional shears for this; a high-quality hair-thinning razor or texturizing shears will do the work safely.

Step 1: Clip your extensions into your hair exactly how you wear them. Gather the section where your natural hair ends and the extension hair begins.
Step 2: Hold the razor lightly between your fingers. Instead of cutting horizontally, close the blade slightly and slide it vertically down the last two to three inches of the hair extensions in a gentle, feathering motion.
Step 3: Always work on dry hair so you can see the immediate weight distribution. Take small pieces at a time. The goal is to remove bulk from the mid-lengths to the ends of the extensions, allowing your natural hair layers to fall smoothly into the extension hair without a visible shelf.

Once the texture is blended, color consistency is the next crucial step to make your hair extension look expensive. A flat, uniform color block will immediately reveal where your real hair ends.
No one’s natural hair is a single, solid flat color from root to tip. Natural hair undergoes sun exposure, resulting in subtle highlights, lowlights, and a slightly darker root area.
If your extensions are a uniform shade of blonde or brown that sits directly against a completely different root color, the harsh line of demarcation screams that you are wearing fake hair. Expensive-looking hair always incorporates dimension and depth, particularly at the root transition.
To avoid this harsh contrast without permanent dyes, you can easily blend the colors at home using temporary makeup hacks.
The Root Spray Method: If your extensions are lighter than your natural root, style your hair completely, then use a temporary root touch-up spray that matches your natural hair color. Lightly mist the spray at the very top of the extension tracks, blending it down about one to two inches. This softens the boundary line.
The Eyebrow Powder Trick: For precise control around the hairline or parting space, use a matte eyeshadow or eyebrow powder that matches your roots. Dab it onto the root area of the extensions using a small makeup brush to simulate a natural shadow.

A luxury finish is all about believable proportions. Even with a perfect color match, mismatched thickness will ruin the illusion of natural hair.
An expensive look relies on believable proportions. A common mistake is buying a 22-inch pack of extensions when your natural hair is a thick, blunt bob.
If you do not have enough extension hair to match the density of your natural hair, the top of your head will look incredibly thick while the bottom transitions into thin, stringy strands. Conversely, applying too much hair near the crown creates an artificial, helmet-like shape.
Balancing this weight distribution comes down to strategic placement and a clever hiding trick at the nape of your neck.
Map your density: Place the thickest, multi-clip wefts at the widest part of your head (from ear to ear across the back). The lower nape area and the high crown area require thinner, single-clip or double-clip wefts.
The "Nape Braid" Technique:
If your natural hair is very thick and short at the back of your neck, it will always push your extensions outward, exposing them. Before clipping in your first weft, section off a one-inch band of hair at the very base of your neck.
Braid it flat against your scalp and pin it securely with bobby pins. Clip your first extension weft directly onto this braided base. This eliminates the short, blunt bottom layer of your natural hair entirely, allowing the extensions to fall flat and smooth.
Further reading: Before and After Hair Extensions: Compare Results with Tape, Nano Ring, Halo, Sew-in & More
High-end hair moves as a single, fluid unit. When extensions start grouping into stiff, individual pieces, they lose that expensive-looking texture.
Synthetic or dry human extensions tend to clump together into stringy, separate sections throughout the day, which instantly deflates the quality of your style. Natural hair receives sebum from your scalp to stay lubricated, but extensions have no natural oil supply. They require manual distribution of moisture to prevent that piecey, separated look.
How to Brush Extensions Correctly:

Step 1: Secure the bonds: Gather your hair into a ponytail with one hand, holding tightly below the bonds to absorb the tension and protect the attachment points.
Step 2: Start at the ends: Use a loop brush or a soft boar-bristle brush to gently detangle the bottom two to three inches of the hair.
Step 3: Move up to the mid-lengths: Once the ends are free of knots, gradually work your way upward toward the mid-lengths.
Never yank a brush through your hair from the roots down, as this stresses the attachment points and causes fraying. Gather your hair into a ponytail with one hand, holding tightly below the bonds to absorb the tension. Use a loop brush or a soft boar-bristle brush with your other hand, starting strictly at the ends and working your way up to the mid-lengths.
Boar bristles are essential because they smooth the hair cuticle down far better than nylon bristles, sealing the strands together so they move as a single, cohesive unit rather than separating into strings.
To keep that fluid movement all day, you need to use specific, lightweight moisture products rather than heavy coaters. Heavy silicone serums provide a temporary shine but quickly attract dust and sweat, weighing the hair down and making it look dull within hours.
What to use: Opt for dry conditioning oils or lightweight argan oil formulations.
Application rule: Rub a single, dime-sized drop of oil completely into your palms until your hands feel warm. Lightly glaze your hands over the mid-lengths and ends of the dry extensions. Avoid the attachment points completely, as oil will cause tape-ins, premium wefts, or keratin bonds to slip.
The ultimate secret to making your hair extension look expensive is total invisibility. No matter how beautiful the hair is, a visible track instantly breaks the premium illusion.
Nothing ruins an elegant hairstyle faster than a flash of a plastic track or a tape-in tab when the wind blows or when you style your hair upward. To wear versatile styles like high ponytails at home, you must alter your installation map.

The Upside-Down Clipping Method: If you are using clip-ins and intend to wear a high ponytail, clip the lowest wefts at the nape of your neck upside down (with the tines of the clips pointing toward the floor rather than the ceiling). When you gather your hair up into a high ponytail, the weft will lay perfectly flat against your scalp in the direction of the ponytail, rather than buckling and exposing the track.
The top of your head is the most vulnerable spot for exposure, meaning you need to create a secure "veil" of natural hair to cover it. The top and sides of the head have the thinnest hair density, making it the hardest zone to hide extensions.
The Two-Finger Safety Rule: Never place any extension track within two finger-widths of your natural parting line or your hairline around the face.
Backcombing the Veil: To ensure the "veil" (the natural hair covering the extension) stays put, take a small section of your natural hair right above the extension track. Lightly backcomb the underside of this section at the root with a fine-tooth comb, and spritz it with a flexible-hold hairspray. This creates a cushion that prevents your natural hair from parting open and exposing the track underneath throughout the day.

Learning how to make your hair extension look expensive isn't just about the initial styling – it is also about how you protect that investment every single day.
The Sleep Routine: Never go to bed with wet or loose extensions. Before sleeping, thoroughly brush your hair and tie it into a loose, low braid or a silk scrunchie ponytail. This prevents friction, matting, and micro-knotting at the base.
Protect the Surface: Always sleep on a silk or satin pillowcase. Standard cotton pillowcases absorb moisture directly out of the hair fibers, leaving your extensions dry, frizzy, and stripped of their natural shine by morning.
The Upright Wash Method: Never wash your hair flipped forward over a sink. Always wash standing up in the shower, letting the water flow straight down to prevent instant tangling and unnecessary tension on the bonds.
The Low-Heat Shield Rule: Always spray an alcohol-free heat protectant before styling and keep your tools below 180°C. High heat permanently cooks the fibers, making extensions look dry and weathered.
Also worth exploring: How to Style Hair Extensions: Top 10 Stylish Looks You Can Try
That is all the information you need to answer the question: How to make your hair extension look expensive? Hopefully, this comprehensive guide has given you a clear, objective look at the pro tips and styling habits needed to maintain a high-end look right at home.
At WIGI Hair, we eliminate the guesswork by delivering 100% premium Vietnamese human hair extensions—hand-selected, thick from root to tip, and ethically sourced for a seamless natural blend. Your hair is an investment in your confidence; you deserve premium pieces that are as genuine and resilient as you are.
Ready to experience the ultimate touch of luxury? Invest in the authenticity you deserve and elevate your hairstyle at home today.
Shop WIGI’s Premium Vietnamese Human Hair Extensions Now!


Dejar un comentario